We use cookies to make your experience better. To comply with the new e-Privacy directive, we need to ask for your consent to set the cookies. Read our Privacy and Cookie Policy.

- September 04, 2025
Improper tyre repair or replacement shortens tyre life, risks customer safety and leads to costly comebacks. Use this guide to avoid the most common pitfalls and keep your workflow safe, consistent and profitable.
1) Repairing damage outside the safe area
Repairs are only acceptable in the tread area and for small punctures. Sidewall or shoulder damage should not be repaired. When in doubt, replace the tyre.
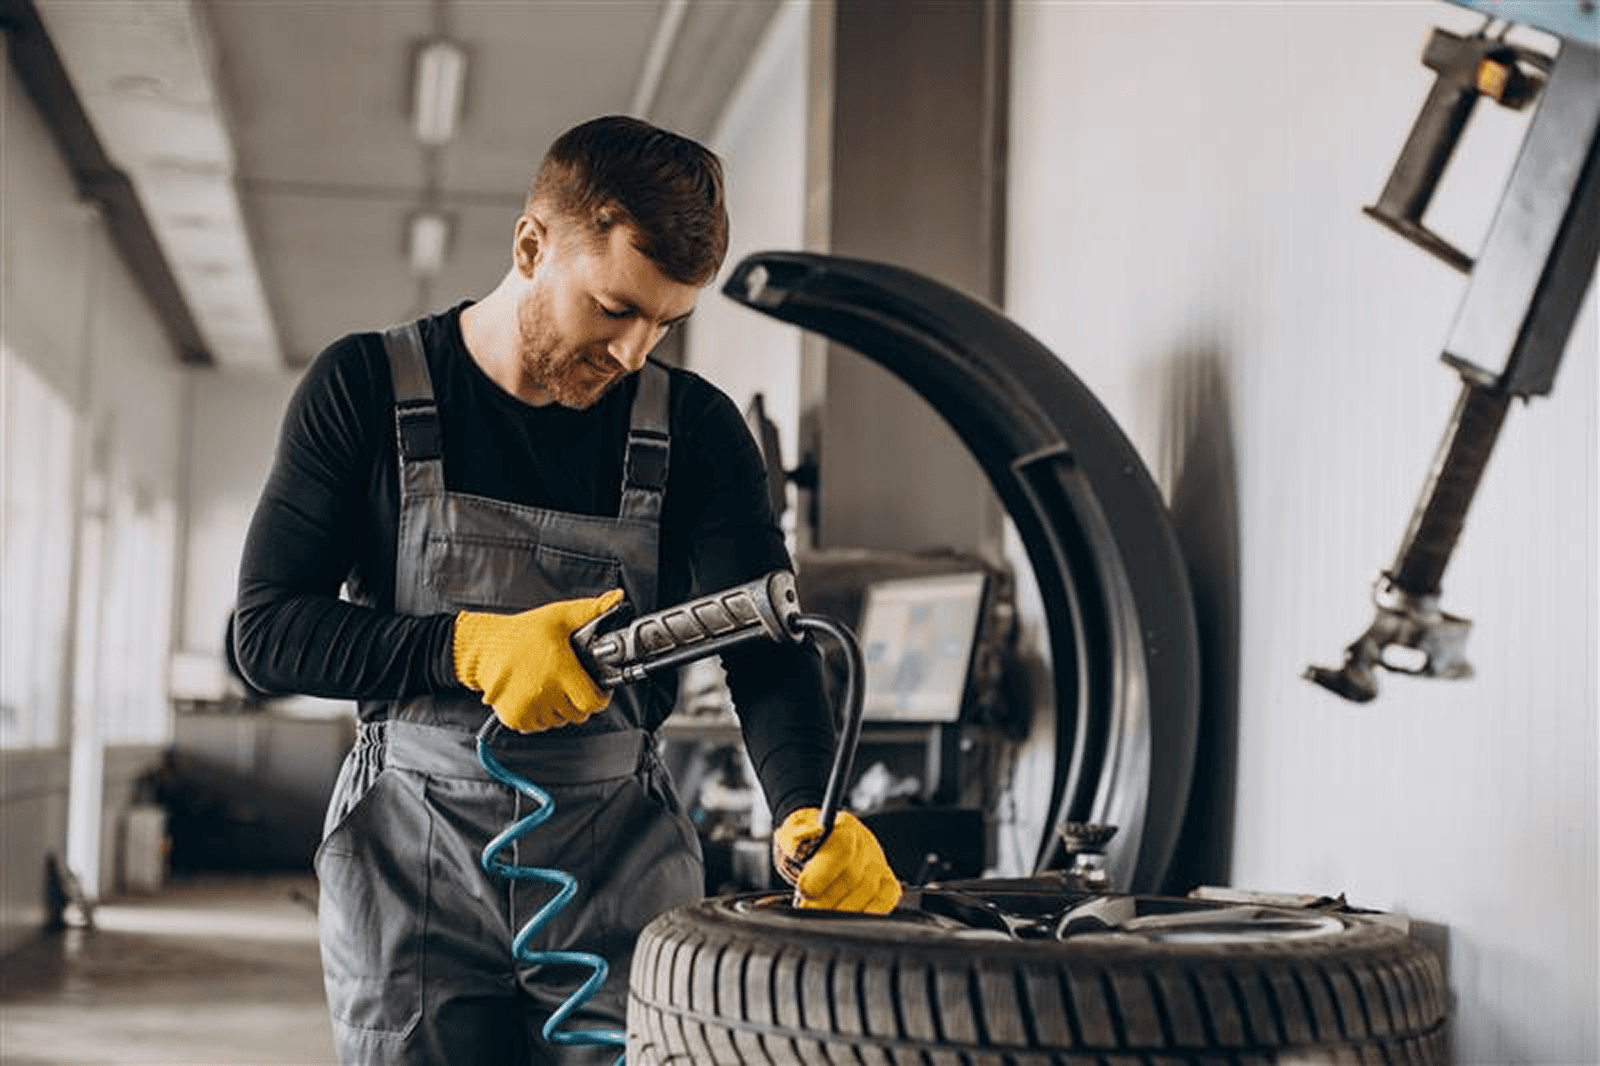
2) Not removing the tyre from the rim
Always demount the tyre to inspect the inner liner for hidden damage, splits or previous poor repairs. External-only “plug” fixes can miss internal injury and fail under load.
3) Overlapping or clustered repairs
Avoid multiple or overlapping patches in the same location. Concentrated repairs compromise structure and heat dissipation—replace the tyre instead.
4) Using a plug without a patch
A durable repair is a plug-and-patch combination—plug to fill the path of injury, patch to seal the inner liner. A plug alone is not an acceptable permanent repair.
5) Skipping wheel balancing and pressure checks
After any repair or replacement, balance the wheel with a wheel balancing machine and set pressures to manufacturer specification. Unbalanced or underinflated tyres cause vibration, uneven wear and handling issues.
6) Ignoring rim, valve and TPMS checks
- Rims: Inspect for cracks, flat spots, rust in the bead seat and bent flanges. Clean or refurbish as needed—replace if damaged.
- Valves: Replace rubber snap-in valves during tyre replacement; inspect metal valves and cores for leaks.
- TPMS: Check sensor seals, grommets and torque. Relearn or reset the system as required by the vehicle.
7) Using the wrong bead lubricants or too much paste
Use purpose-made bead lubricant—not soap or oil. Apply a thin, even coat to beads and rim seats to prevent slippage or contamination inside the tyre.
8) Exceeding safe bead seating pressures
Follow safe seating limits and never lean over the assembly during inflation. If the bead will not seat, deflate, re-inspect and try again—do not keep increasing pressure.
9) Poor documentation and customer communication
Record the injury location, repair method, torque values and pressure settings. Explain recommendations clearly (e.g., why a tyre must be replaced), and note advisories on the invoice.
10) Skipping a final quality check
- Leak test with approved methods after repair.
- Confirm balance, torque and pressure.
- Visually inspect bead seating, valve integrity and TPMS status.
Quick checklist for technicians
- Confirm repair is in the tread area and within size limits.
- Demount, inspect inner liner, mark injury path.
- Use plug-and-patch; no overlaps; proper curing as specified.
- Clean bead seats; apply correct bead lubricant sparingly.
- Seat beads within safe pressure limits; stand clear during inflation.
- Balance, set pressures, check valve/TPMS, torque wheel fasteners.
- Document work; advise customer on rotation and pressure checks.
Related guides & equipment
For safer, faster fitment, review our Tyre Changer Safety and Maintenance Checklist. Complete the service with our wheel balancing guide, and explore our range of tyre changers if you’re considering an equipment upgrade.


